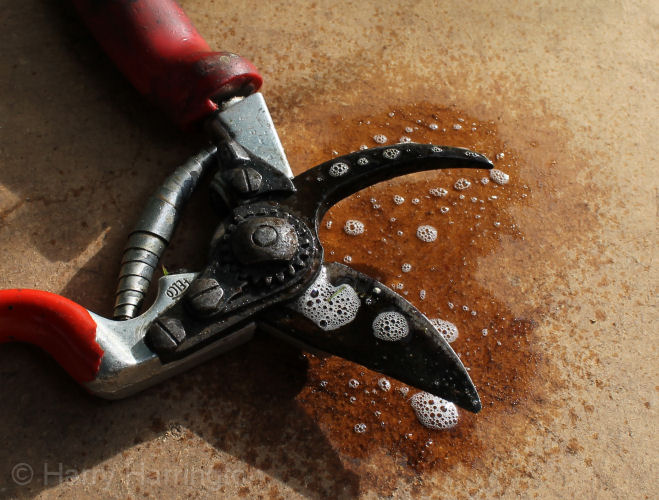
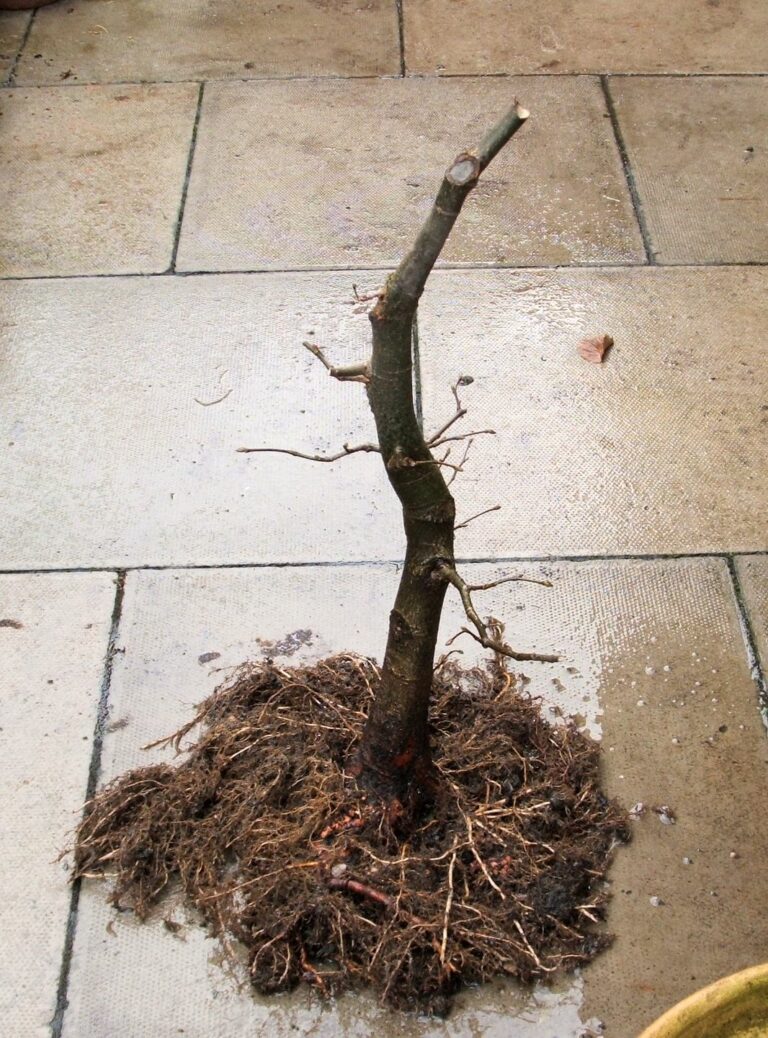
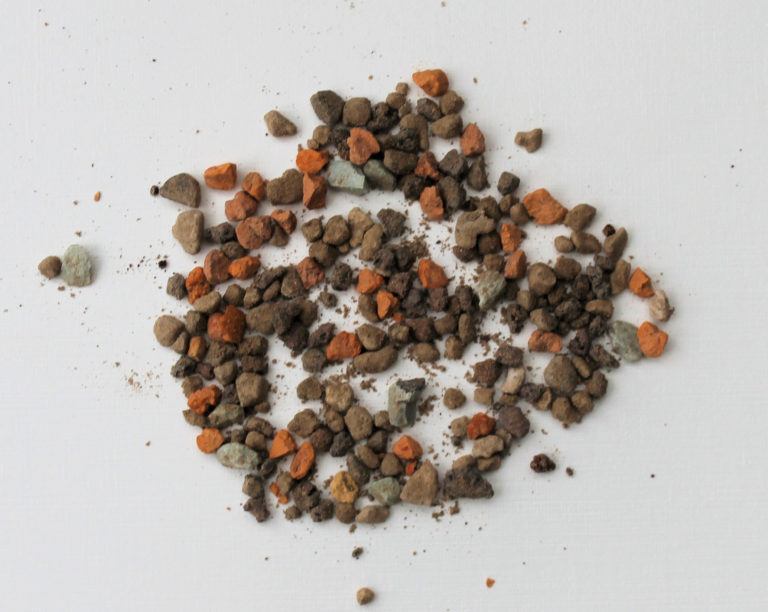
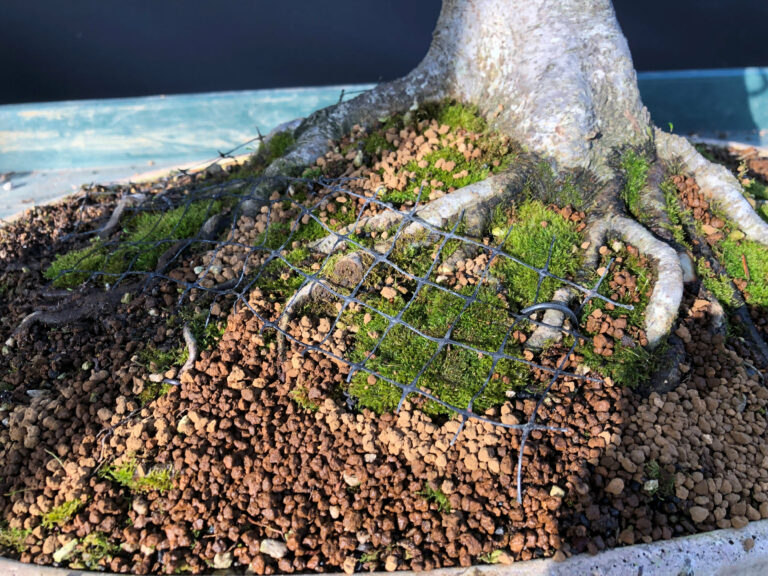
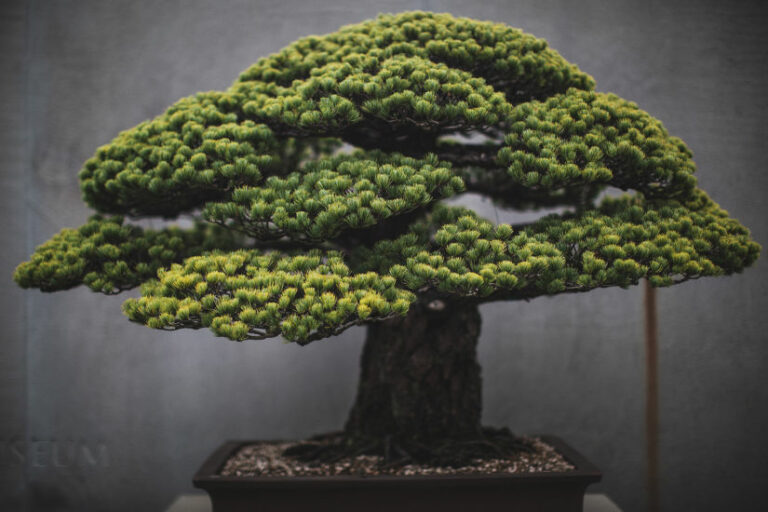
This is a story of how I discovered out how to make cheap training-pots for bonsai.
With my trees asleep for the winter and with time on my hands, I thought of doing some pottery to make containers for my bonsai. Then I found this method of pot making on HBF (the Croatian bonsai forum), and having contacted a good friend of mine, Mario, I learnt the basics of the procedure that is now described in this article.

A selection of very cheap training pots that I have made using the method described in this article
The method for making the 'mix' to make the actual pots is very simple;
1) Gather some old newspapers, avoiding ''glossy'' papers from magazines.
2) Tear the paper in strips and soak them in water for a few days.
3) After they are all well soaked, take some paper and mix it into a fine mixture (as though making papier mache).
4) Using the same amount volume of cement as the fine mixture of wet paper, add some fine polypropylene* fibres (just a finger pinch per 2 liters of cement; this makes the final structure stronger), and mix the fibres and cement together.
5) Then mix the cement and wet paper mix together until you get the nice and even mixture (*tip- first mix one half of the cement, and then the other).
6) Add some water if needed/too dry, but the mix mustn't be too wet, because it will make problems later on. The moisture i find appropriate is when you grab some finished mix in your hand and squeeze it hard, so that water only starts to show between your fingers.
* polypropylene fibres are usually used for strengthening concrete, protecting it against cracking; it has many other uses and is relatively easily available from builders merchants or online


From left to right: the newspaper cut into strips, soaking in water, and mixing with the cement mix
Preparing the Moulds
After the mix has been made, it is necessary to prepare some moulds for the mix to be poured into.
You can use almost anything for the moulds as long as it is water tight. It can be an old kitchen salad pot, all kind of buckets, ice cream packing or an old lamp, whatever you have handy that is a good size and shape for a bonsai container. You can make more refined moulds by shaping polystyrene or even by using plaster moulds taken from your favourite bonsai pot.

You can make the pot's legs (if the original mold doesn't have them) by simply making the pot's bottom with the piece of polystyrene in which you cut out the spaces for legs with a scalpel and glue it to the bottom of the mold.
When you have the mould ready, coat the inside with a thin layer of oil (for instance cooking oil). This will stop the pot mixture sticking to the sides of the mould itself.
Applying the Paper Mix/Building The Pot


Always wear gloves when using cement; the lime in cement can and will cause burns.
First fill the legs by squeezing the material in with your fingers. Then put a layer of the crumbled smaller sized particles of paper mix over the whole bottom of the mold, and press the whole area into a flat, smooth mass. You can use your hands or a piece of polystyrene to help press the cement.
After the bottom of the bonsai pot has been made you can then start to build the walls of the pot.


When building the walls, press the mix against the walls from various directions, so that the pieces you add blend together well. When the walls of the pot are built to the desired height, smooth the whole surface with your fingers/palms (if they are too dry, spray the mix with a little water).
Finally, make the drainage holes at the bottom of the bonsai pot and some smaller ones for the tying-in wires. For these holes, bottle caps or similar items that are the appropriate size can be used.
Taking the Pot Out of the Mould
Take the pot out of the mold when you are sure the mixture has cured properly. Trying to remove the new pot before the mixture had dried enough can lead to cracks in the walls or base of the pot or the legs can come away from the base
My pots were left in their molds for three days at 5˚C, and each one came out easily. Higher temperatures will obviously leave a faster drying time.

Take the mould, turn it upside-down, bang it firmly against a flat surface and the pot should slip out of the mould (I used an old doormat to make certain the pot didn't break as it came away from the mould). The pot is then allowed to cure for another couple of days to ensure it has hardened all the way through.
Newly made bonsai pots being left to fully harden
Finishing the Pots
A hand grinder and/or other grinding tools are used shape the pots roughly, and then sand paper is used for the finer finishing.

The pots can then be painted with paint suitable for colouring cement.
And that's all there is to the process!! Using this process you can have some nice, light weight and very cheap bonsai pots which can be used as training pots, or even as the final pots if you don't have the money for or access to clay/ceramic ones.


Pots painted with colours for concrete


These are the pots I made in just a month...
For questions and tips contact me on music.luka@gmail.com