Vaclav Novak Bonsai Pot Klika-Kuratkova. Saulieu 2017
OVERVIEW
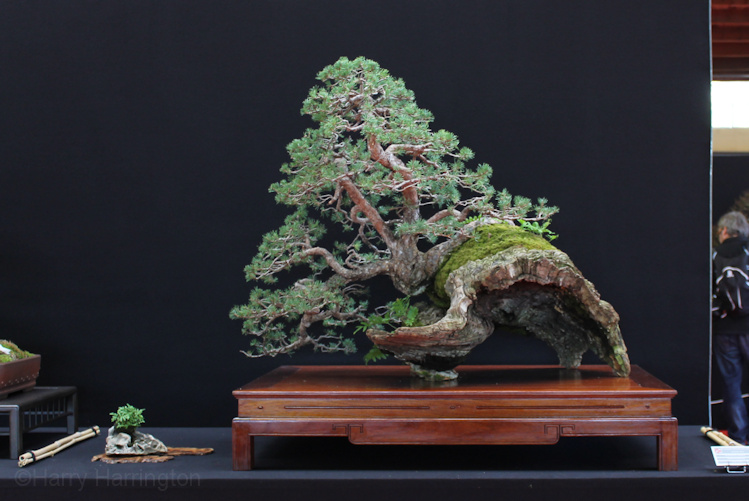
Pinus is a genus of approximately 120 species of monoecious, evergreen, coniferous trees or shrubs, widely distributed throughout the world particularly occurring in mountainous and arid conditions where they are able to thrive.
Pines are a classic bonsai species in Japan and the world over, they are not however, easy trees to care for and style without experience. Pines have their own growth patterns that differ greatly from deciduous and common coniferous species; these growth patterns need to be understood before successful styling and pruning can be carried out.
As can be seen in the accompanying pictures; pines are not only used for bonsai in Japan, they are also very often seen cloud-pruned in Japanese gardens.
Pine foliage is in the form of needles that are most commonly formed in bundles of two’s and five’s. Some pine species have long and/or curved needles that make them difficult to style effectively as bonsai, however Pinus species that display short needles are nearly always suitable.
There are large numbers of pine species suitable for bonsai though for the purposes of this article I will outline the four most frequently used for bonsai;
PINUS MUGO/ MOUNTAIN PINE
The mountain pine originates from the mountain ranges of Central Europe. The species itself is very variable and botanists have sub-divided it into a series of sub-species and varieties.
Pinus mugo is very tough and is able to withstand the harshest of conditions. They have evolved to withstand extremely cold winter temperatures and hot, dry summer conditions. In favourable conditions, they will form dense bushy shrubs or small trees but given a poor situation they form scrubby, semi-prostrate twisted trees.
The main features that distinguish the mountain pine from the more familiar Scots pine (P. sylvestris) are the resinous buds and the shiny-green to purplish bark on young wood. P. mugo produce paired needles, 2-5cm long that are dark-green and slightly twisted. Cones start as violet-coloured flowers that grow in large numbers along new shoots.
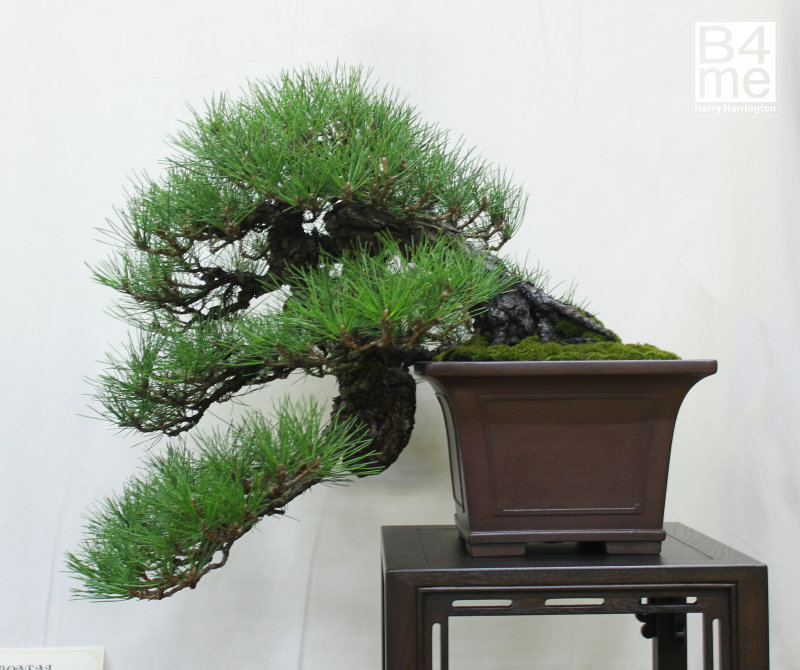
PINUS THUNBERGII/ JAPANESE BLACK PINE
P. thunbergii is a native of Japan and is arguably the classic bonsai pine species. The Black Pine is a very vigorous tree commonly grown Japan in parks and ornamental gardens where heights of anything up to 25metres are commonly reached. Black Pines are very tolerant of poor conditions, surviving in nature on barren, stony soils. P. thunbergii has thick, dark grey-green needles up to 7-15cm long, though quite long, the needle-size can be reduced in length with the use of bonsai pruning techniques. Bark is purplish-grey and becomes very craggy and fissured with age.
Japanese Black Pines are relatively thirsty and can be watered fairly heavily compared to Japanese White Pines.
White pines are frequently grafted onto the more vigorous Black pine/ Pinus thunbergii rootstock to improve vigour and growth-rate.
PINUS SYLVESTRIS/ SCOTS PINE
Native to western and northern Europe, the Scots pine is a conical to columnar tree, which frequently loses its lower branches with maturity and takes a natural literati form. Needles are twisted, blue-green or yellow-green 5-7cm long and borne in pairs. Bark becomes flaky, red-brown with age.
Pinus sylvestris has given rise to a number of dwarf cultivars such as P.s. ‘Beuvronensis’ and P.s. ‘Waterii which are both excellent subjects for bonsai.
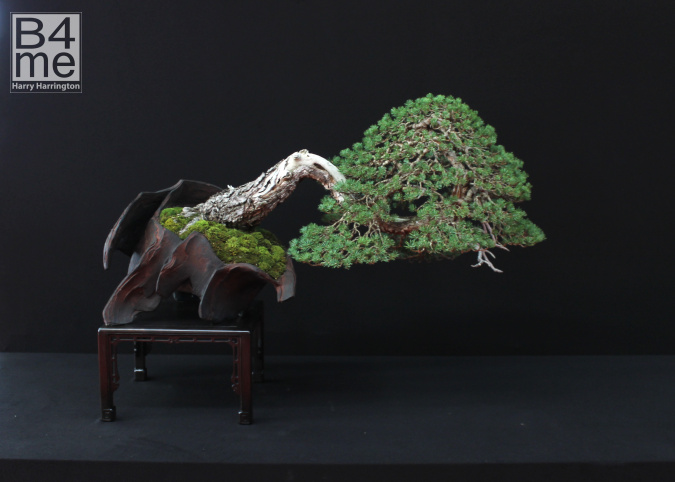
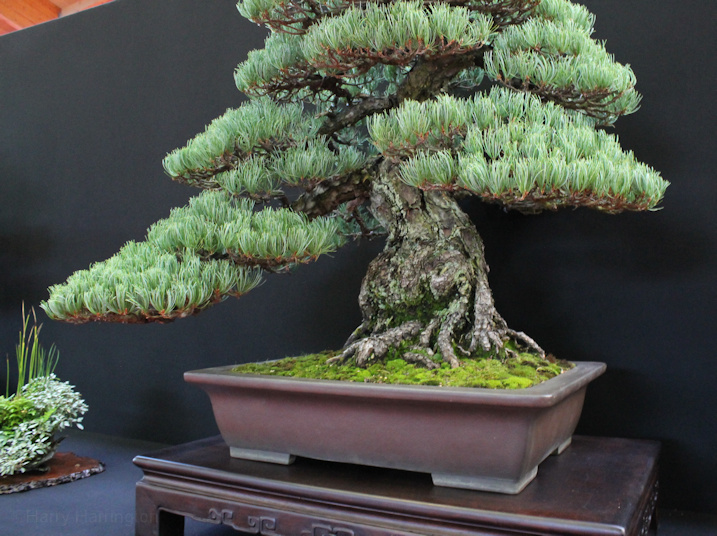
PINUS PARVIFLORA/ JAPANESE WHITE PINE
A conical or columnar tree, often with a spreading crown native to Japan. 2-6cm long leaves are a deep-green colour with whitish blue inner sides, giving rise to the name, the White Pine. White pines are frequently grafted onto the more vigorous Black pine/ Pinus thunbergii rootstock to improve vigour and growth-rate.
Japanese White Pine are naturally a mountain tree and require a fairly dry substrate. Indeed, this is one pine variety in particular that will suffer from overwatering and/or a water retentive soil.