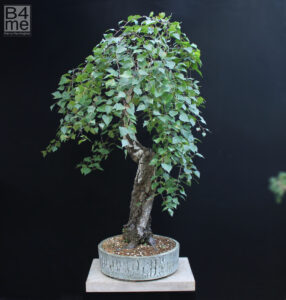
Height 27″/66cm with a 8″/20cm trunkbase
In development since 2009 from a field-grown trunk.
Pot by Victor Harris of Erin Pottery.


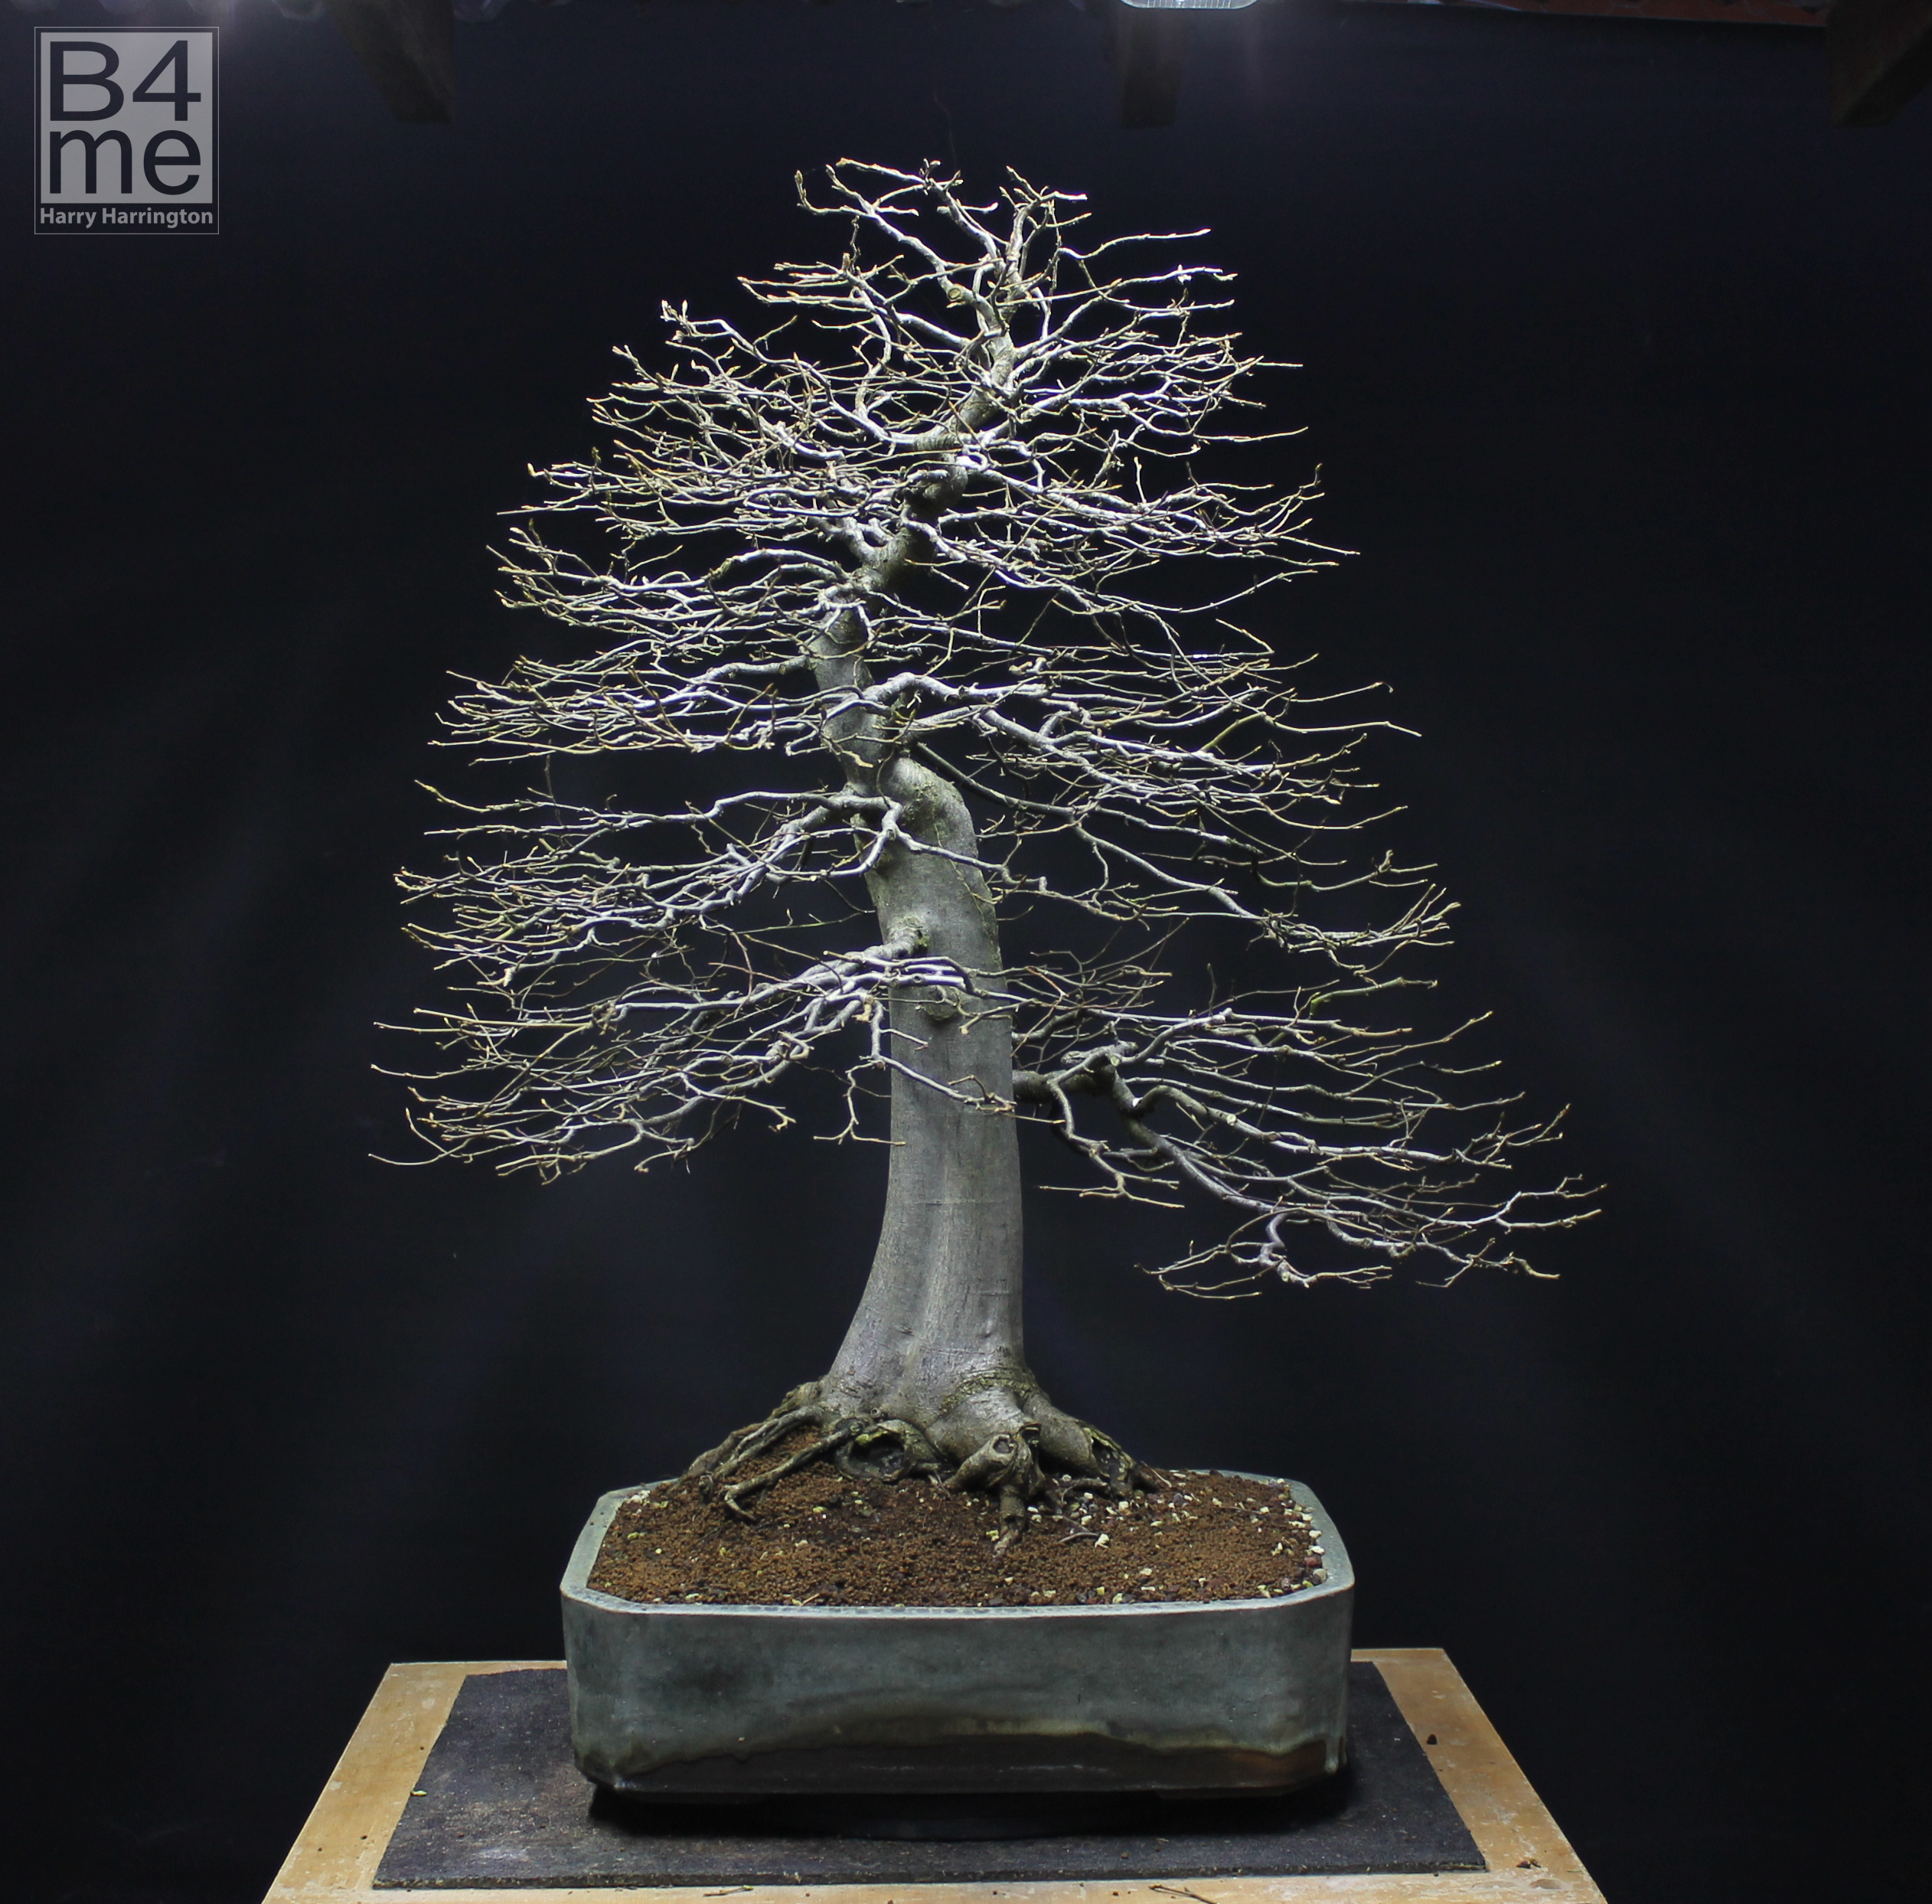
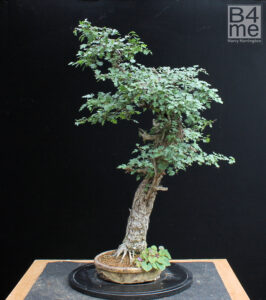
Carpinus betulus/European Hornbeam bonsai by Harry Harrington. Bonsai pot by Victor Harris.
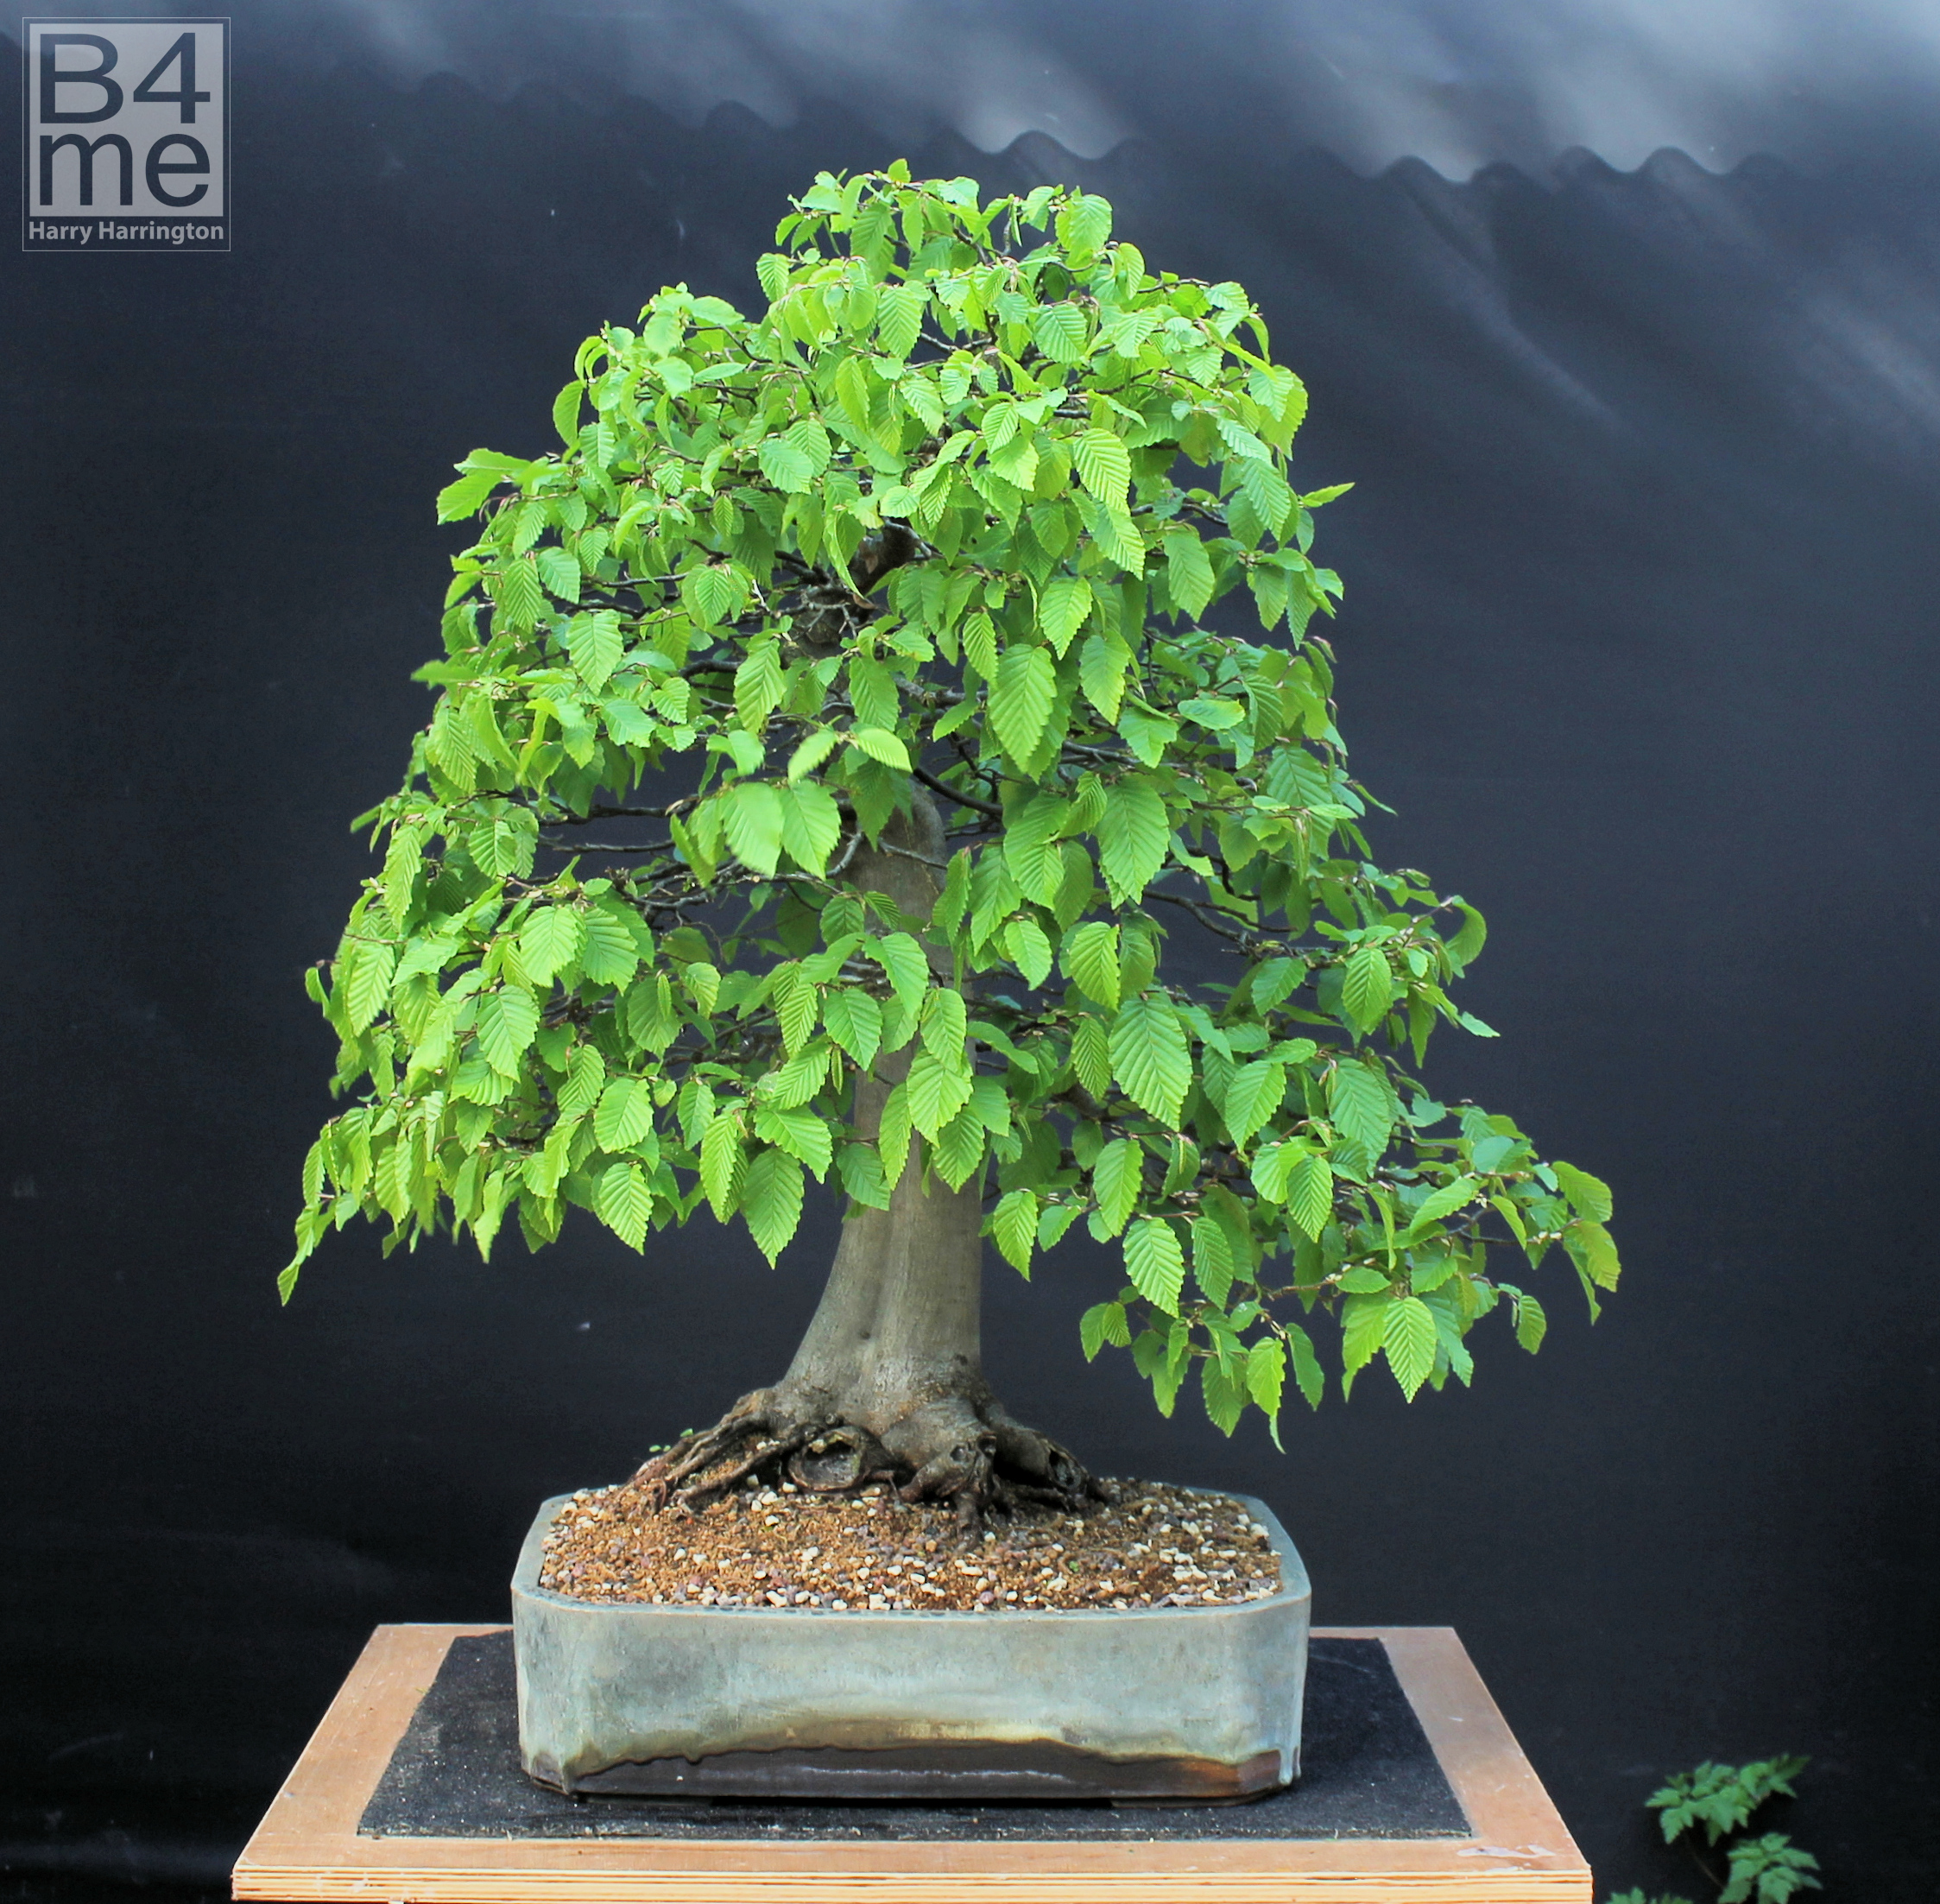
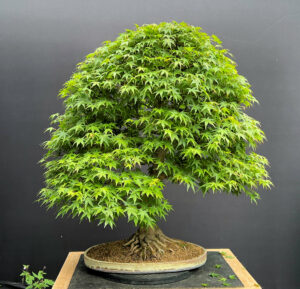
Carpinus betulus/European Hornbeam bonsai by Harry Harrington. Bonsai pot by Victor Harris.
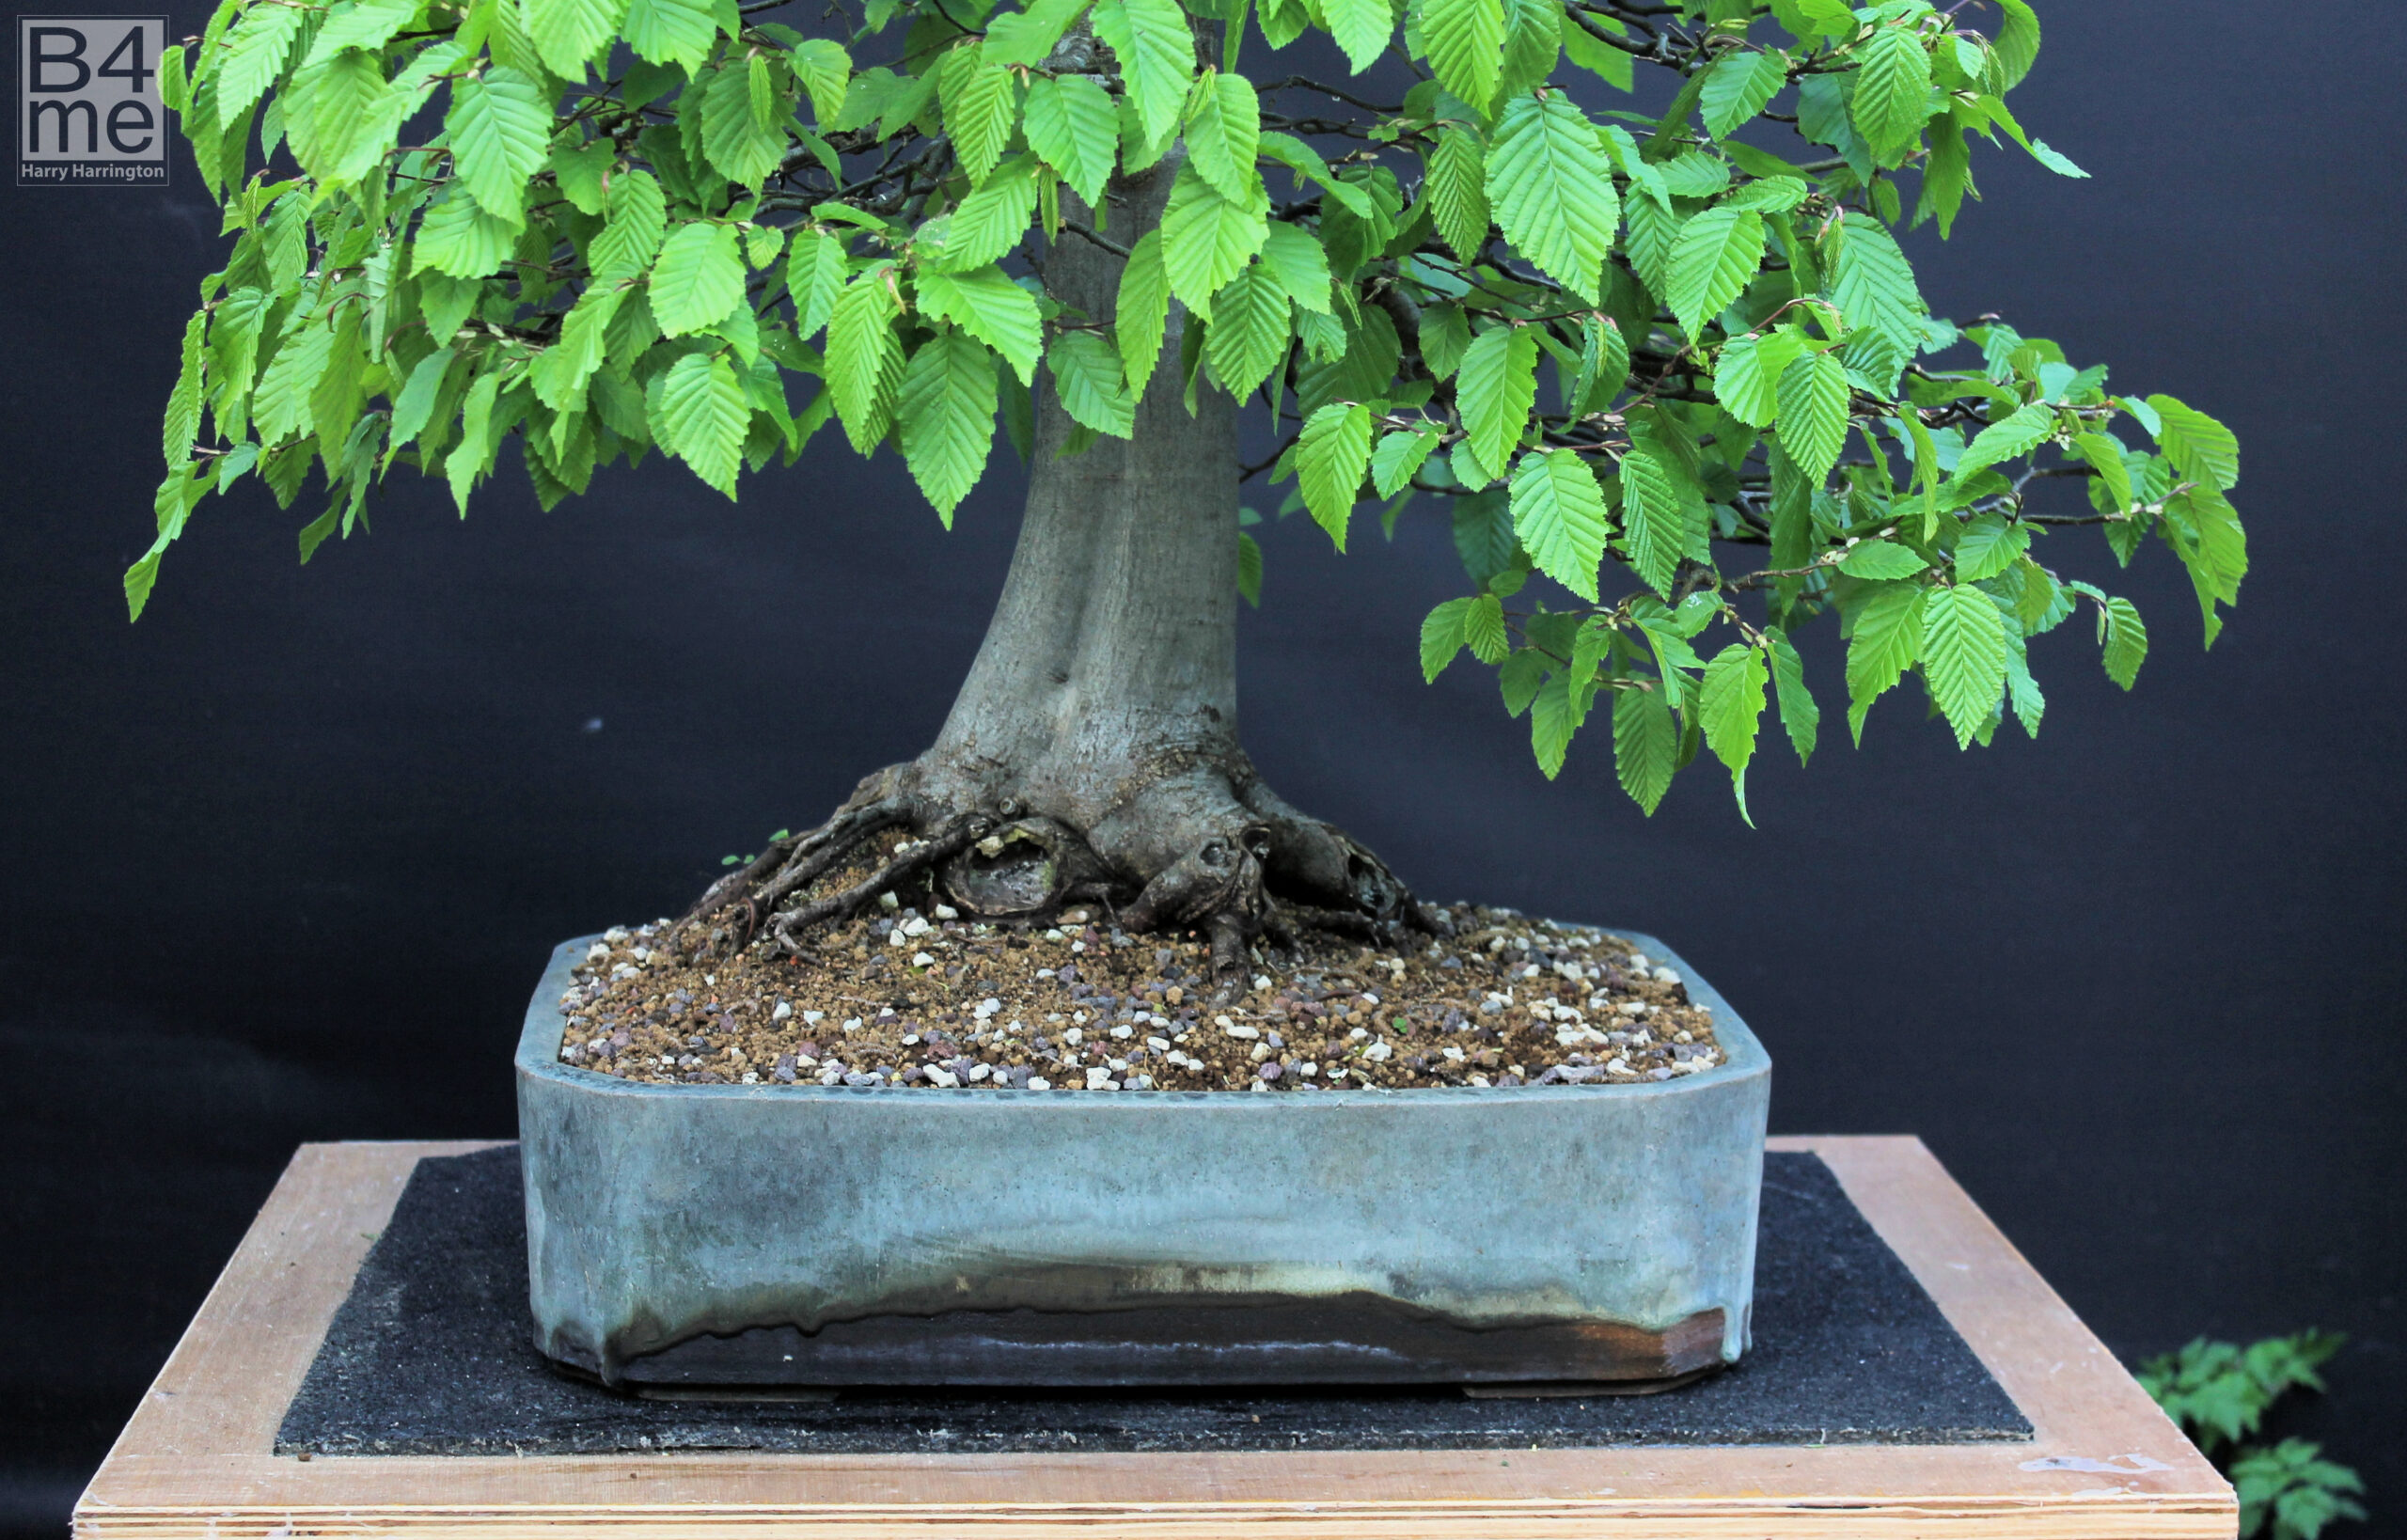
Detail of the bonsai pot by Victor Harris.
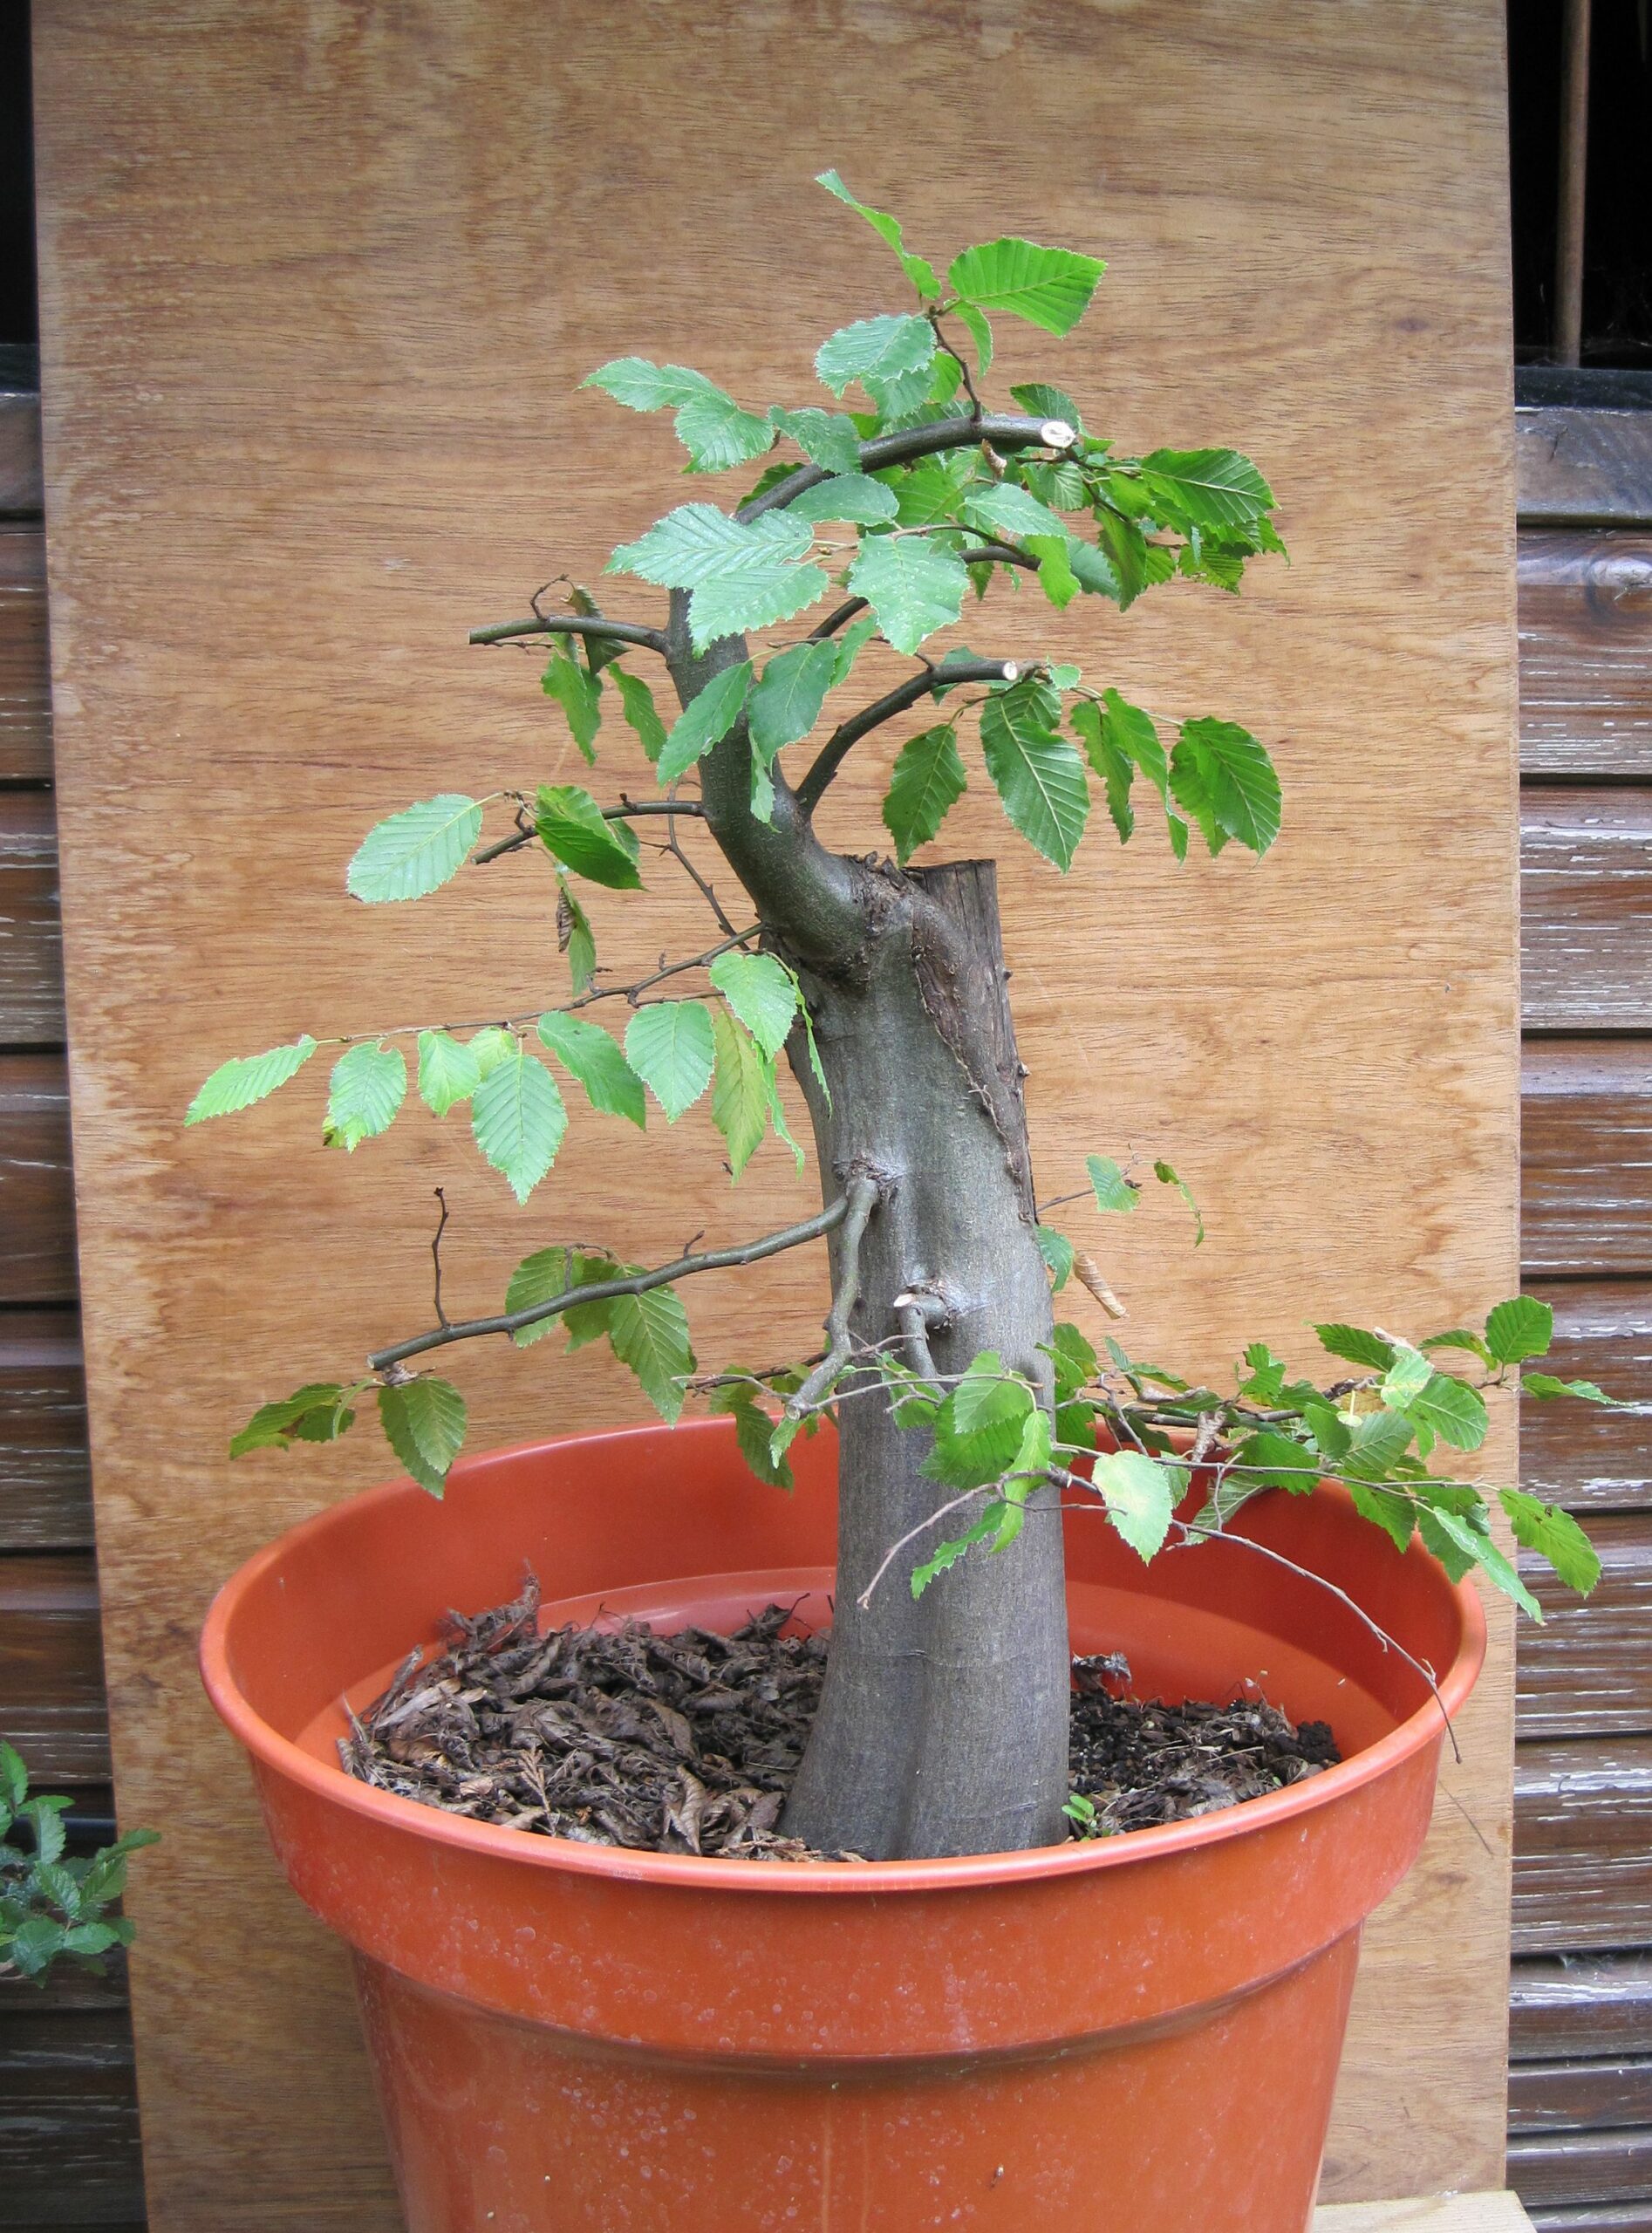
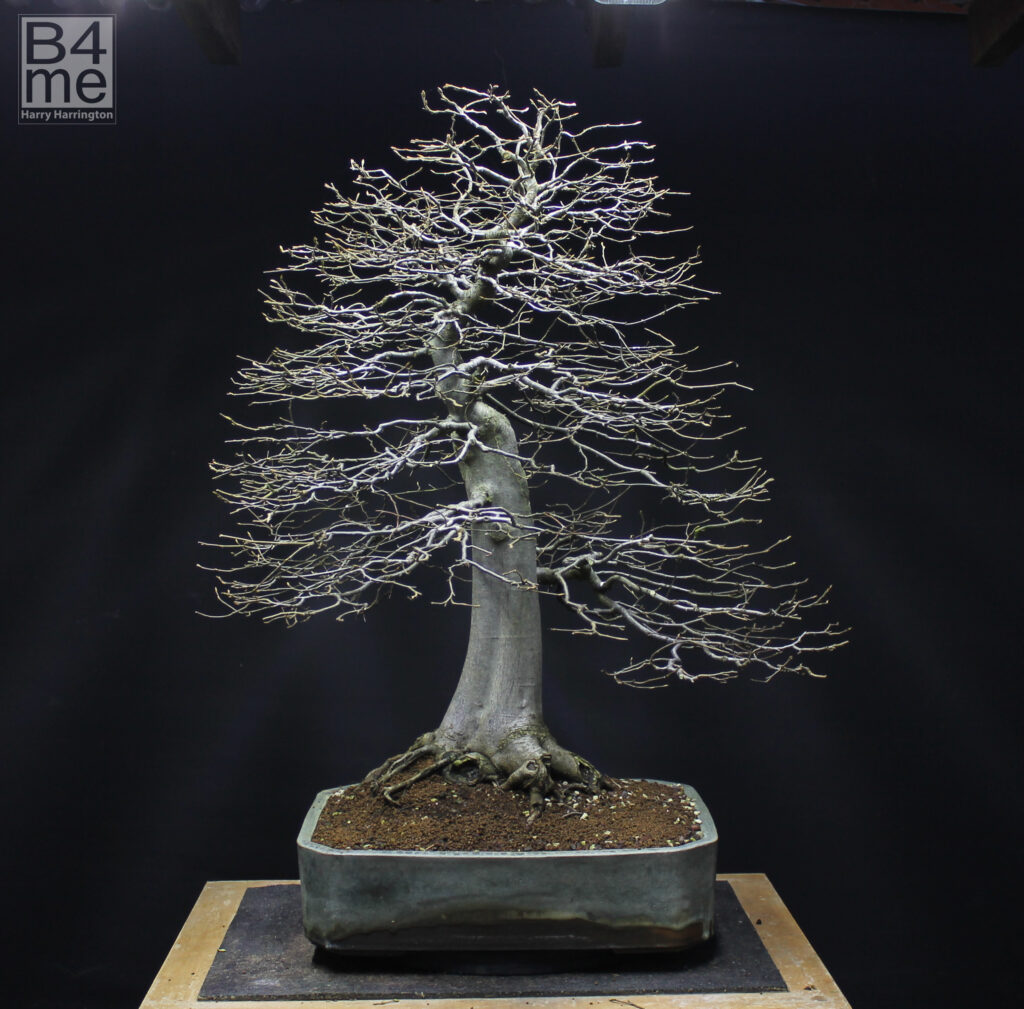
"Before" of the Carpinus betulus/European Hornbeam in 2011.
Height 27″/66cm with a 8″/20cm trunkbase
In development since 2009 from a field-grown trunk.
Pot by Victor Harris of Erin Pottery.